
Great Falls Photographer | DIY No-Sew Dropcloth Curtains
If I could find the sanity (and hours in the day) to balance all the “things” I want to be when I grow up…Interior Decorator/Blogger would definitely be on the list. There is just nothing cooler than creating a space that you just want to be in. I mean, how amazing is it that certain paint colors, décor accents, furniture, finishes…all can make you feel a certain way?!! It helps that I am a complete, self-identified “homebody” and I love nothing more than hanging out in our space as a family! Seriously - even after amazing vacations, I get this wonderful feeling when I step back into my home! Aaaaahhhhh….
Okay - enough about me! Let’s talk “curtains”.
It’s incredible how much window coverings can transform a space, so I’ve definitely given them my attention in our home. In fact, I even change them out at Christmas to mix in a little more holiday cheer! I know…nerd alert. So when I came across another Pinterest idea that incorporated curtains and the words “no-sew”, I immediately jumped on-board! And then you add “inexpensive”? Match made in heavennnnnn.

Seriously, the best part about this project is it requires two things. TWO. A couple Home Depot dropcloths - I used these ones - and some curtain clips. That’s it.
The first step is to decide how much of an overlap you will need based on the length of your curtain. I can’t stand the look of highwater curtains (the ones that don’t touch the floor), so I wanted to insure I had them long enough, which still allowed for a 14” overlap “valance” look at the top (my favorite). Once you know the length of the overlap, lay those dropcloths out and get to clipping!
My patience isn’t my strongest virtue, especially when it comes to exciting décor projects, so I first attempted to “eyeball” my curtain clip placement, and I don’t recommend this. I ultimately had to go back and measure to get them spaced evenly. Lesson learned (for now)! ;-)

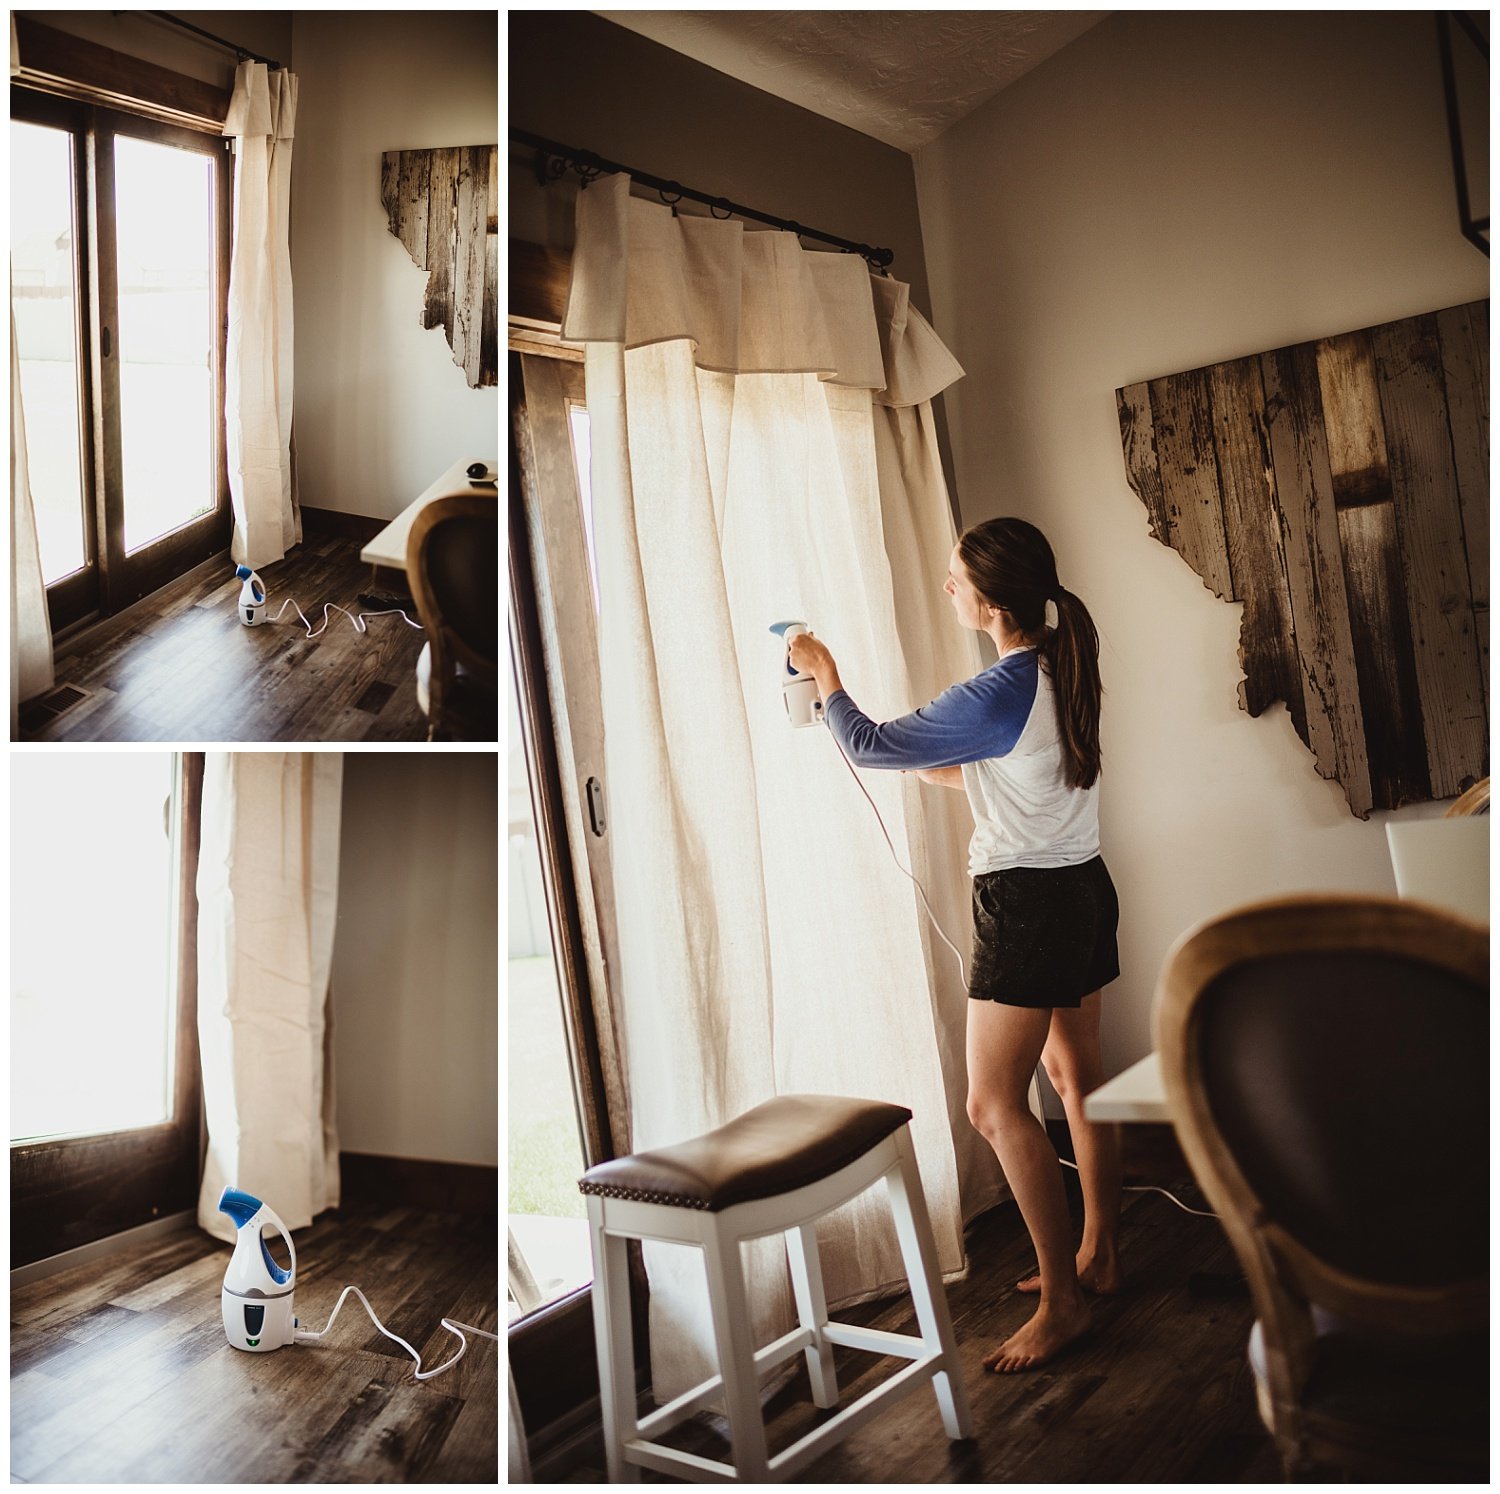
Now the not-so-fun part that is optional: steaming. You will notice immediately that right out of the packaging, these canvas “curtains” are pretty wrinkled. As much as I love a shabby-chic look, I can’t handle a lot of wrinkles, so I knew I was going to iron them out one way or another. My first attempt was to spread the fabric out on the floor and iron. This took a long time, so with my second curtain I used the steamer, which seemed to work just as well and much quicker. If you have a steamer - I’d recommend steaming over ironing!


Okay - now for the complications. Every good DIY has ‘em, right?! Remember how much I despise highwater curtains that don’t touch the floor??? Weeelllllll…given that these dropcloths are meant to be, well…dropcloths…the manufacturer didn’t seem too concerned to make them exactly the length advertised. And even more unfortunately for me, the first dropcloth I used to measure my overlap area was the longest. Which meant highwaters for every other curtain.
Sad face.
While I didn’t measure each of them to see how off the dimensions were, every curtain was a different length. I did go back and adjust the overlap a little bit to lengthen some of the curtains, but one was WAY too short. Soooo….

…I hid it behind our Roomba. Yep! I’m that girl. I also stuff a lot of things in our cupboard drawers…and everywhere. Stop judging ;-)

Despite our mismatched curtain lengths, I am SO happy with the look of these dropcloth curtains! They totally add to the country vibe we have going on in our house, and the switch from our dark navy velvet curtains has lightened up the space even more (which I love).
I hope this post has given you an idea to try in your own space! It’s quick, easy, and results will transform the look in your home (or enhance it)! Any questions - drop me a comment below!